
How It Works
- Open a patient in Second Opinion.
- At the top of the viewer, select Photos (next to X-rays).
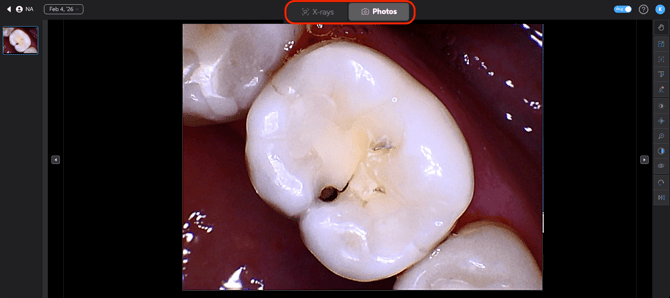
- The Photos view displays available intraoral (and other clinical) photos for the patient.
- Select a photo to view it larger, then use the toolbar to adjust the image or add documentation.
Photos may briefly appear under Unclassified while they process. Once processing completes, they move into the Photos section.
Key Options / Controls
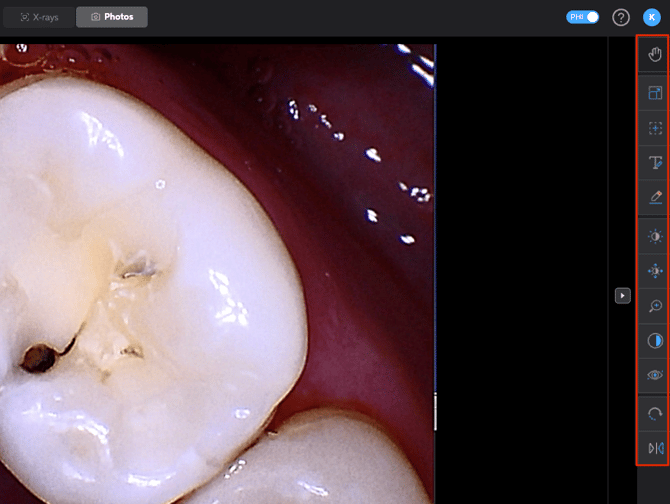
Viewing and adjusting photos
- Full screen: Expand the photo for easier viewing.

- Zoom: Zoom in and out to review details.

- Rotate / Flip (mirror): Correct orientation when needed.


- Brightness / Contrast / Exposure: Improve visibility for patient conversations and documentation.


Add comments (notes) to a photo
- Select the comment/text tool.

- Place an arrow on the image to point to the area you want to reference. Click the area you'd like the arrow head to point to, then stretch to mark the arrow end point.
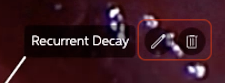
- Enter your note.
-gif.gif?width=1280&height=720&name=CommentonPhotoImageinSecondOpinion1-ezgif-com-video-to-gif-converter%20(1)-gif.gif)
- You can add up to 10 comments per photo, with up to 200 characters per comment.
- Comments can be edited or deleted at any time.
Best Practices
- Use intraoral photos to support patient understanding by pairing visuals with a clear explanation of what the team is seeing.
- Add brief, specific comments that capture what matters for documentation of assessment for patient and insurance purposes.
- Use screenshots of annotated images as supporting evidence for insurance claims.