

Always obtain patient consent prior to recording during an appointment.
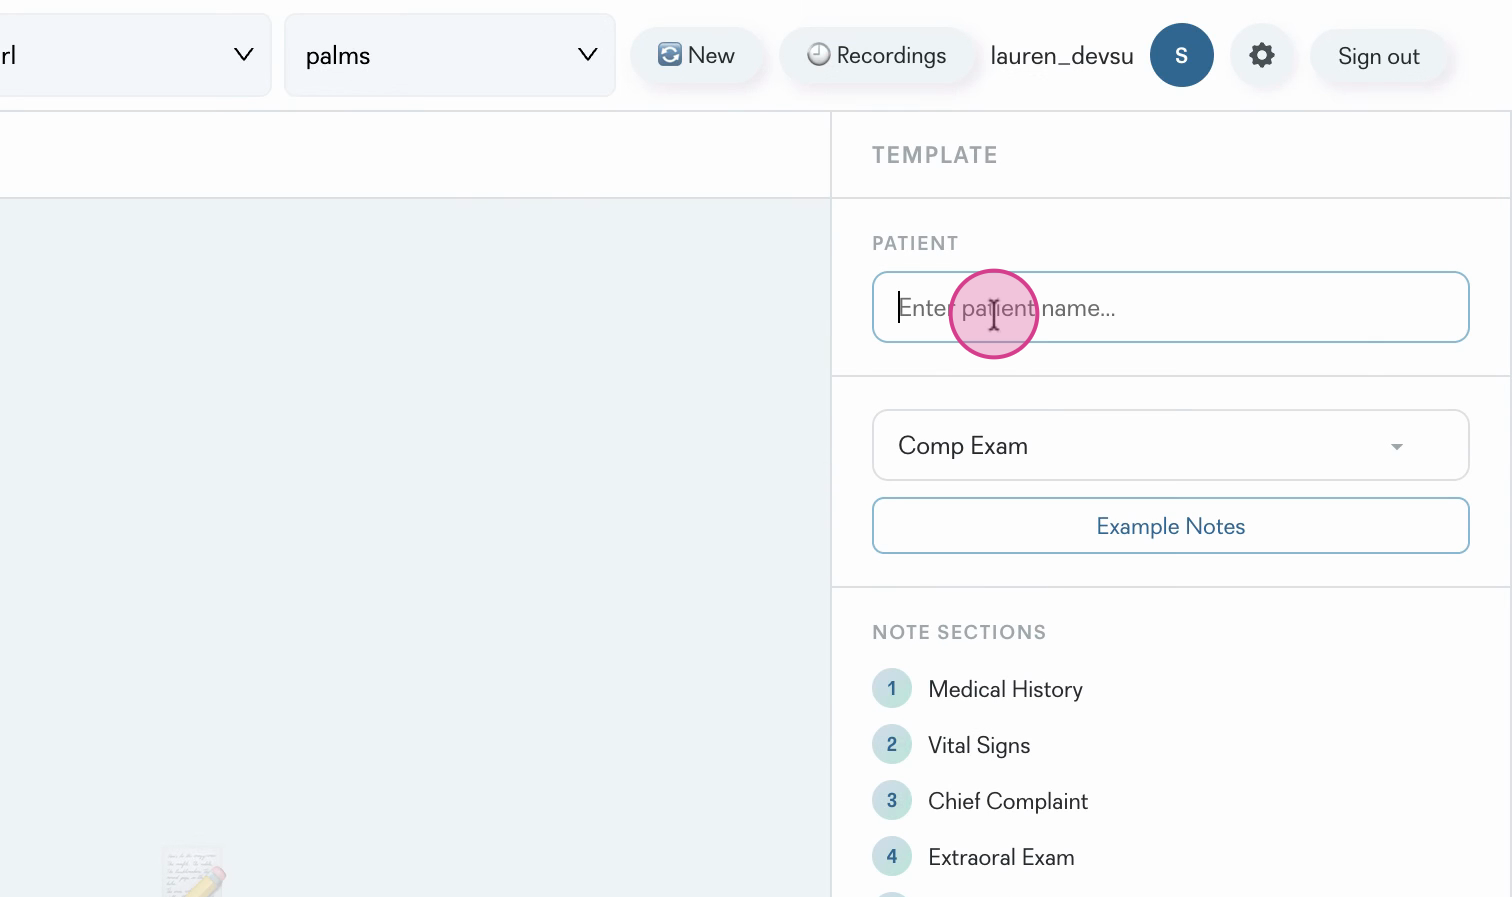
Step 1: Enter the patient’s name.
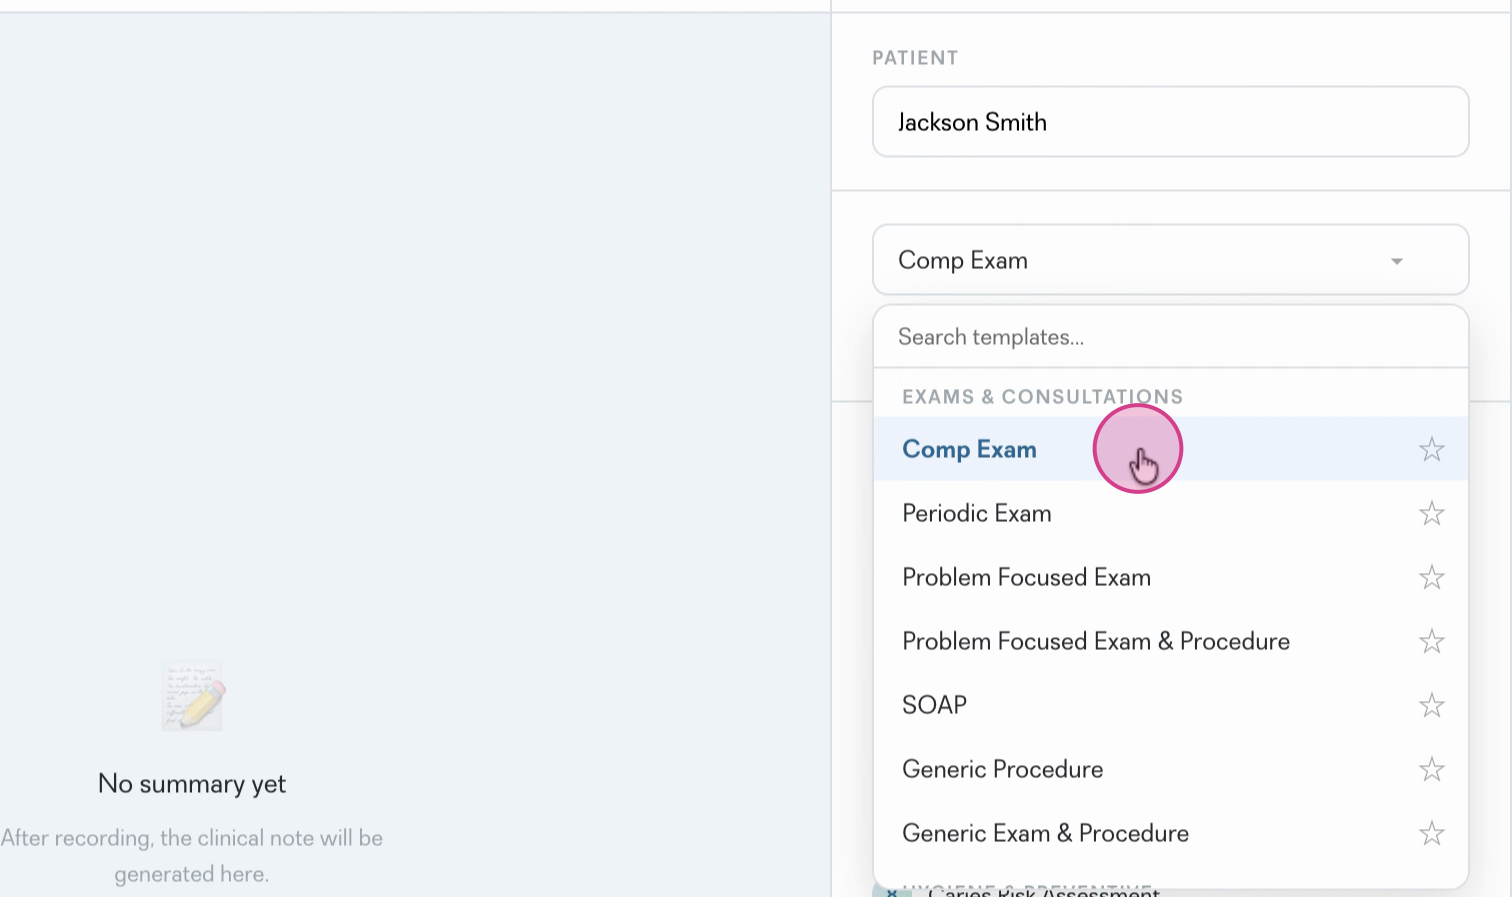
Step 2: Select the appropriate chart template, such as Comprehensive Exam.
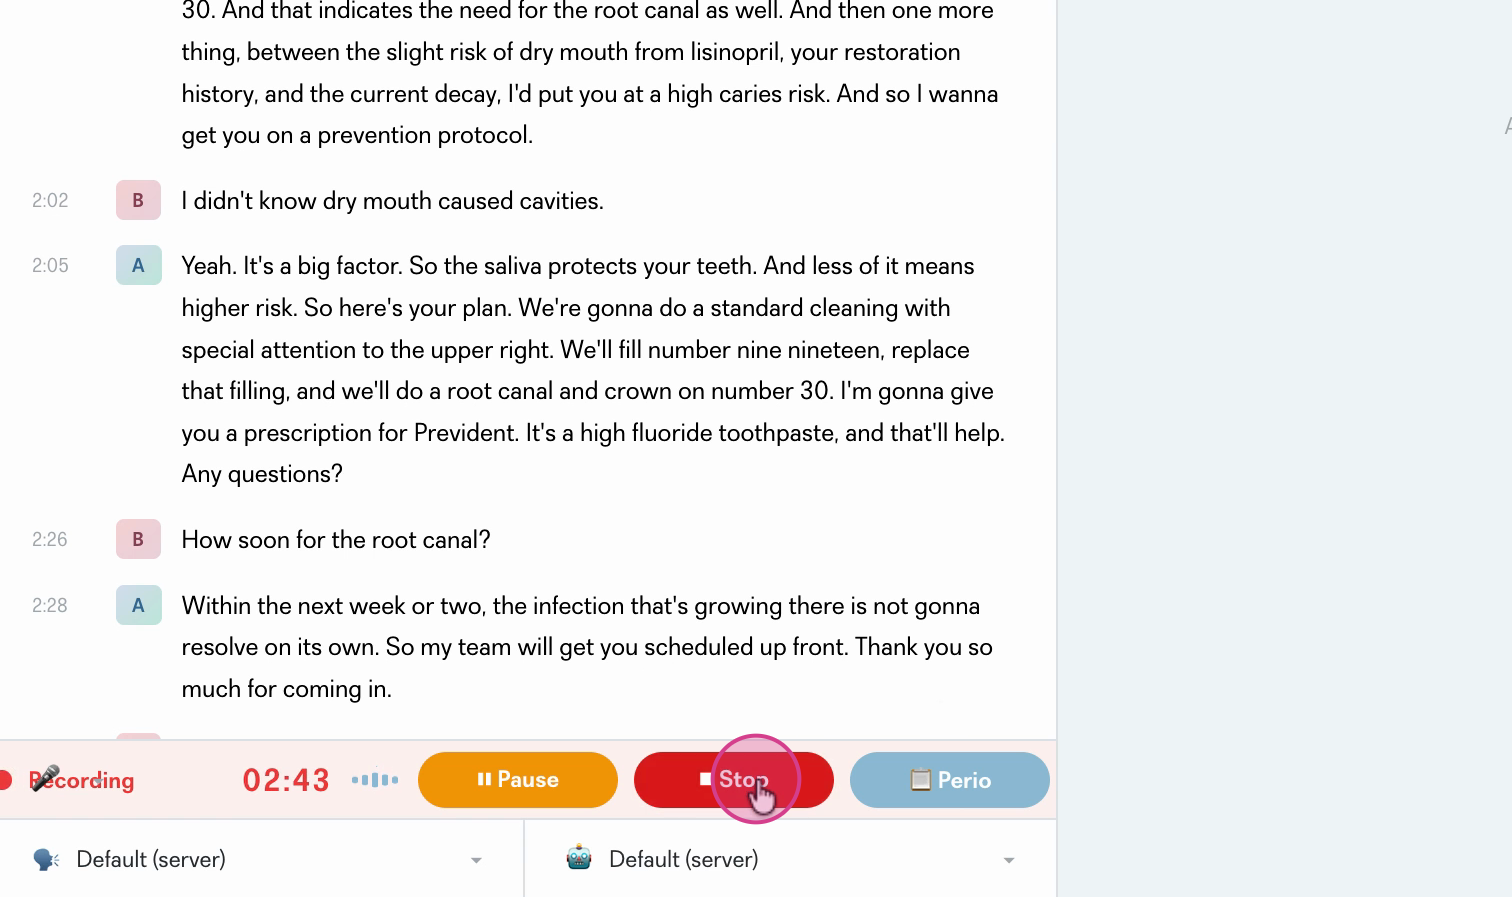
Step 3: Hit Record to begin the appointment. Pearl Voice will start listening and transcribing, so focus on your patient from here on out.

Step 4: Complete the examination as you normally would. Engage with your patient, ask about their concerns, review medical history, and perform your exam. Pearl Voice captures the conversation and clinical findings.
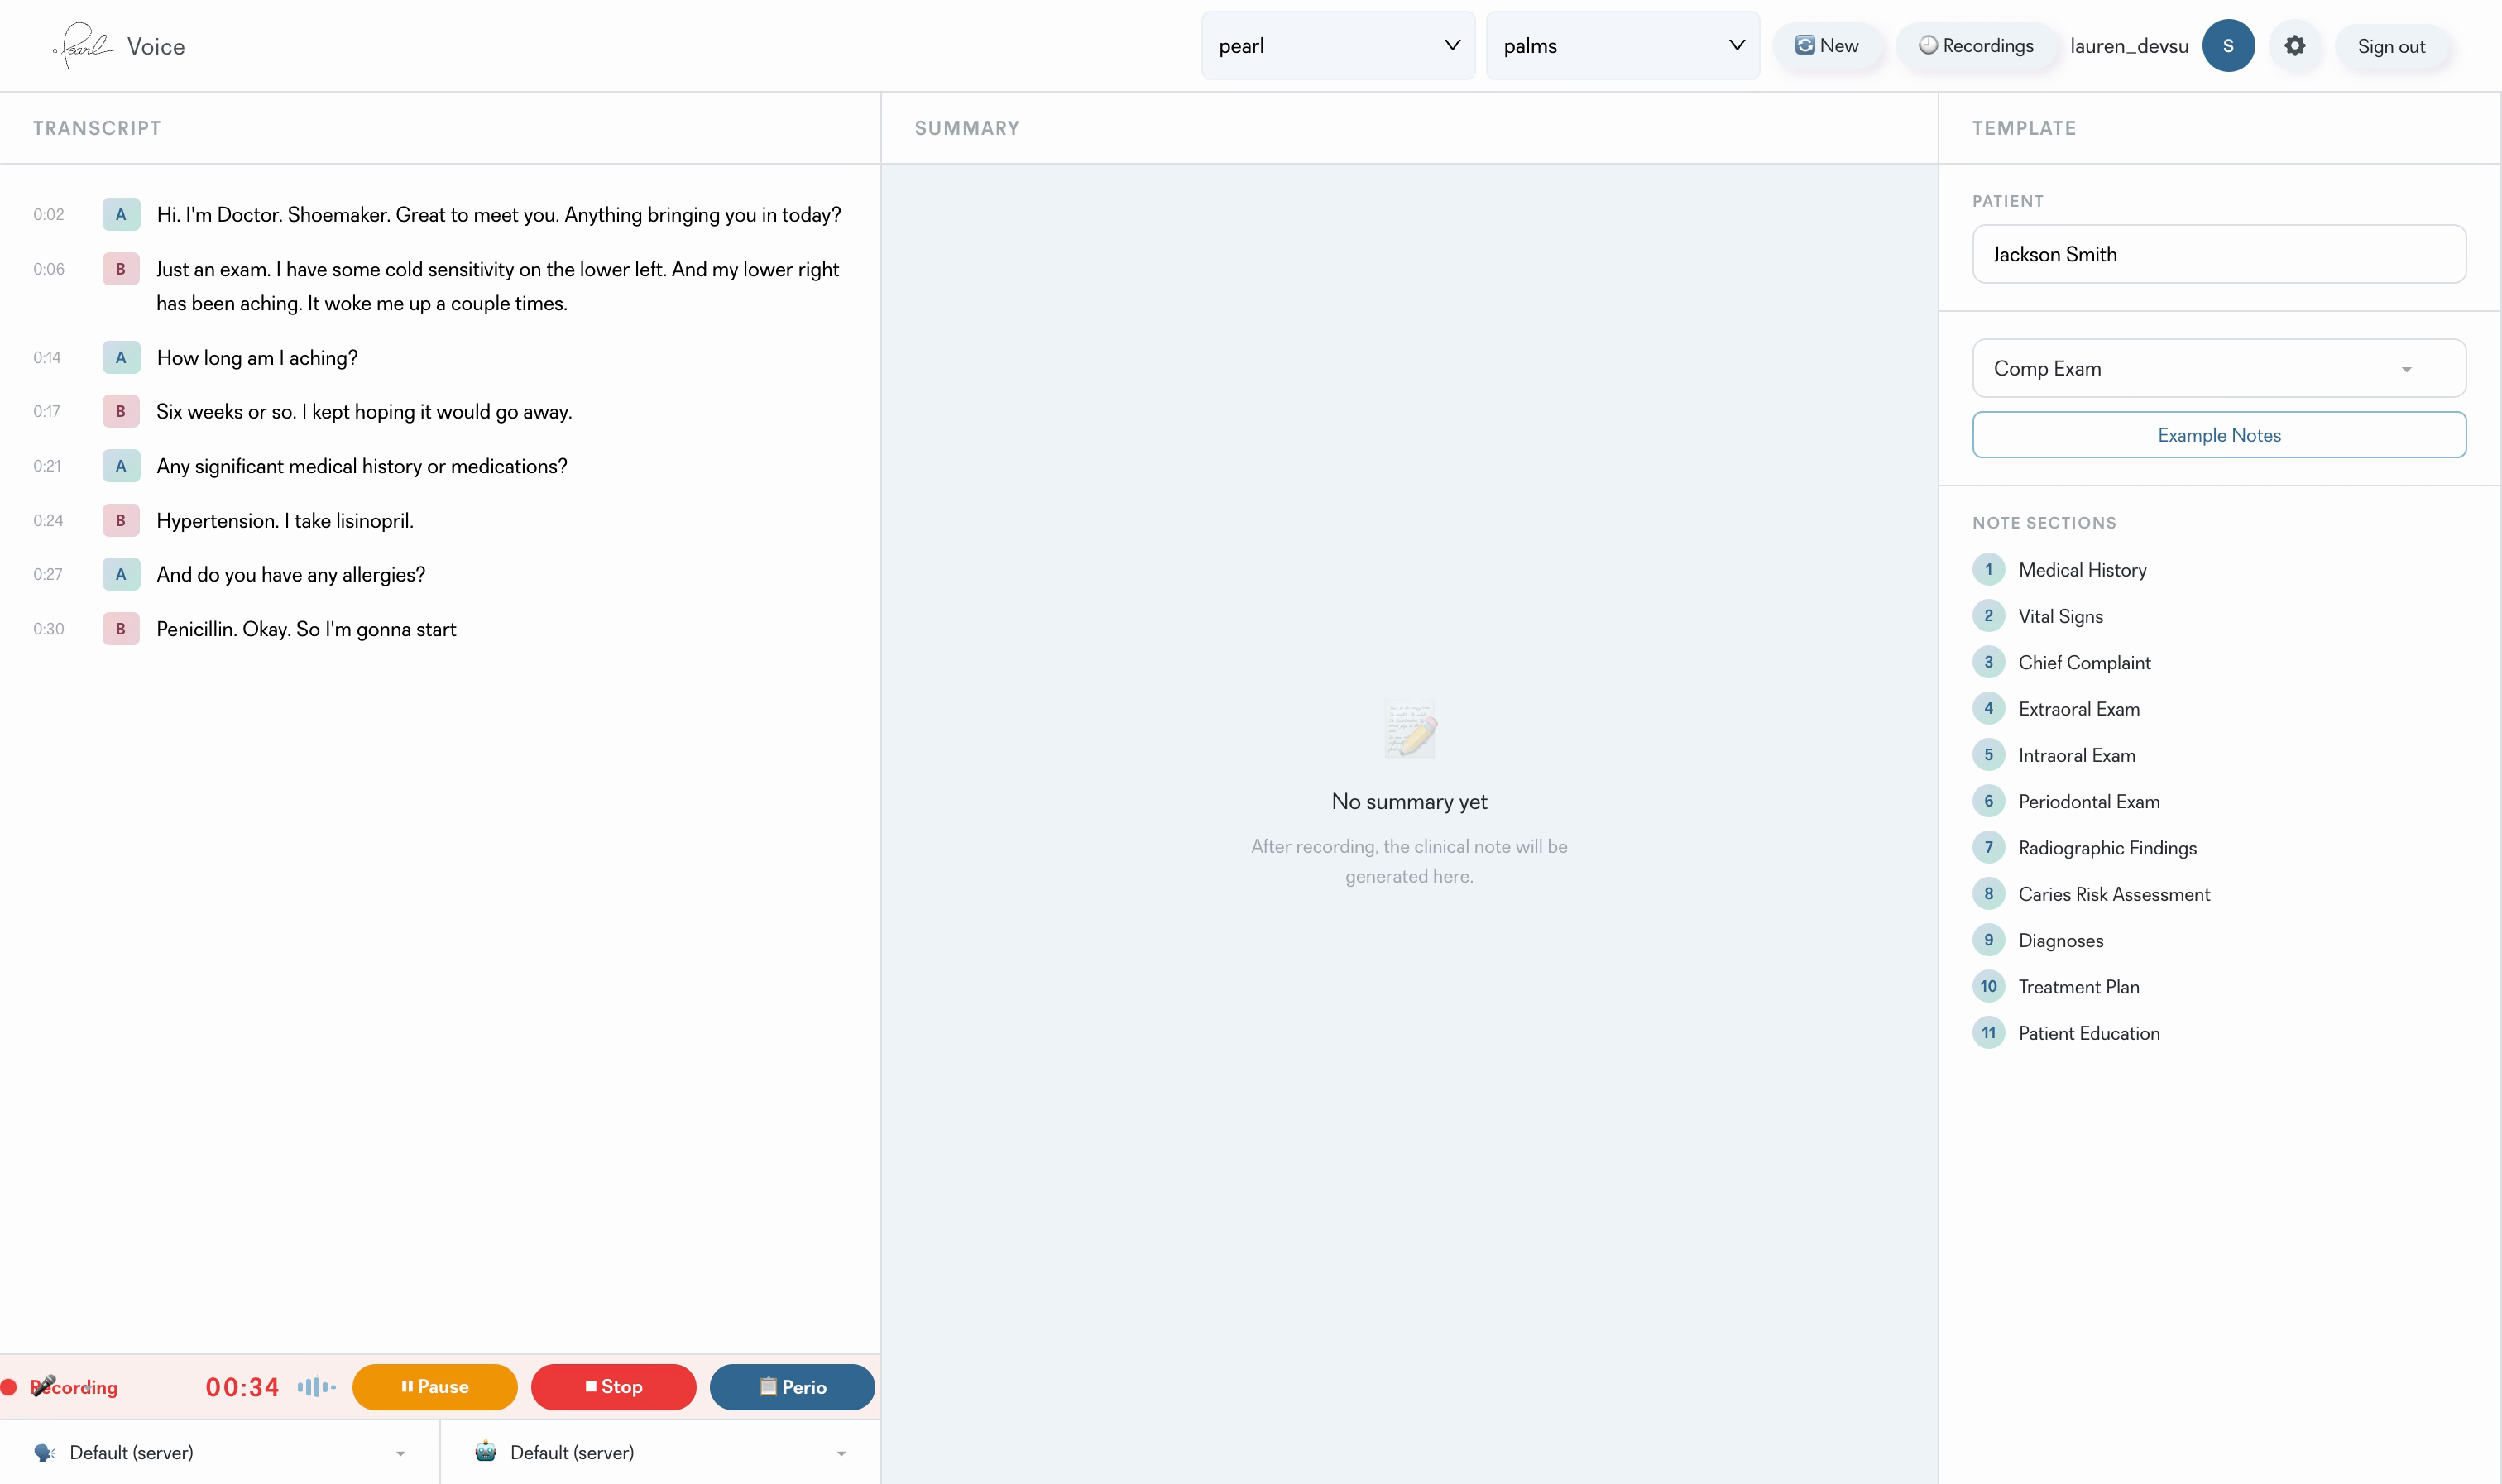
Step 5: While recording, say 'Begin Perio Chart' or 'Open Perio Chart' to start voice perio charting.
Note: The perio chart button will appear 'grayed out' until the recording is started. Starting the recording allows the chart to open either with a manual click, or by voice command.
See: Perio Chart Voice Command Reference
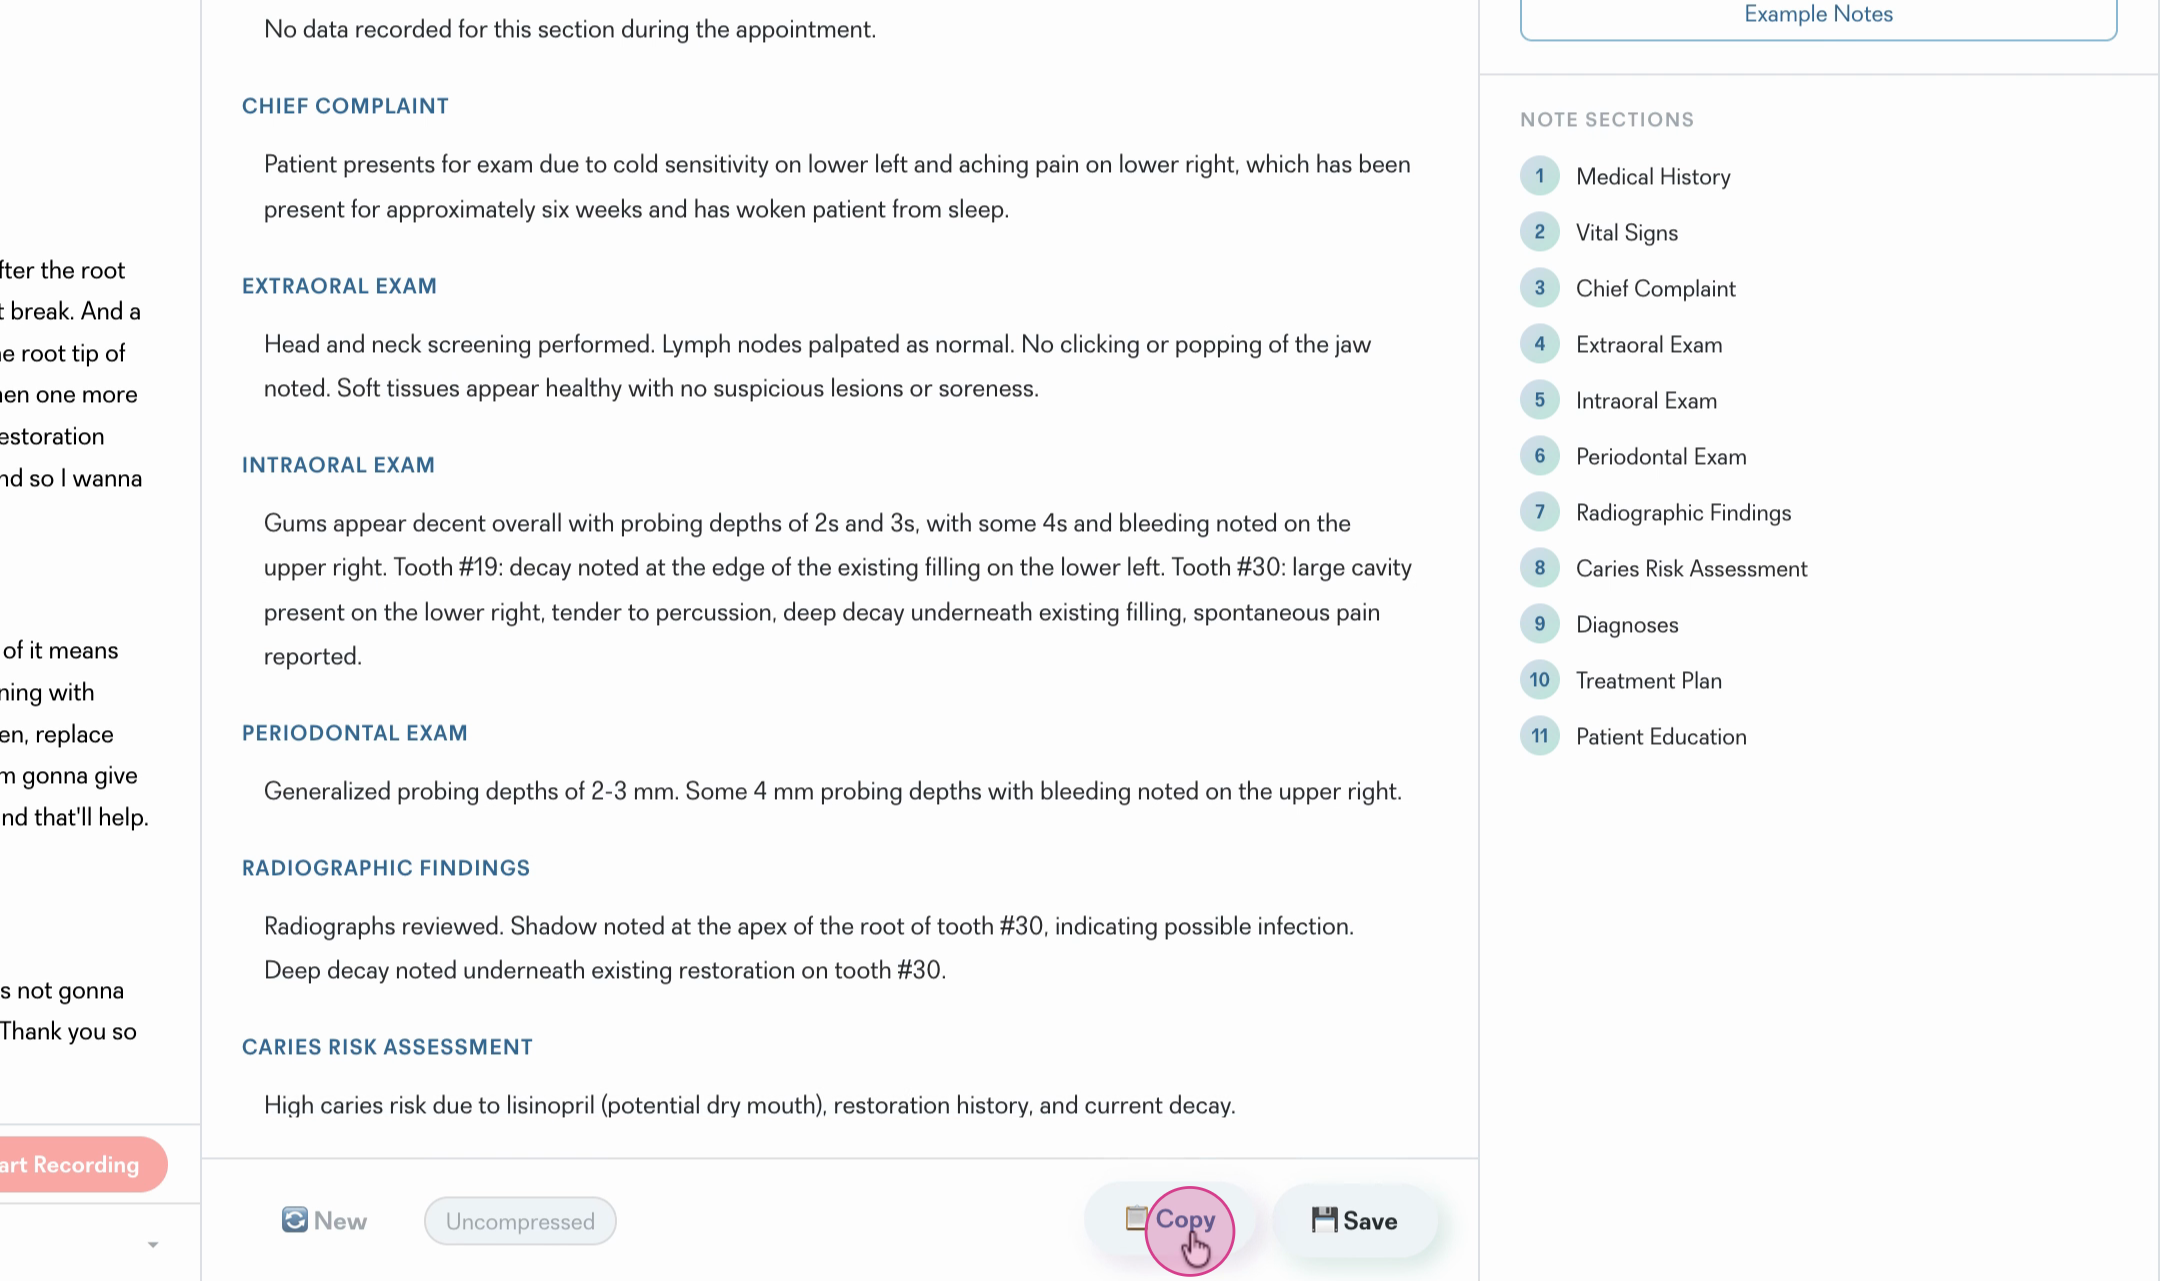
Step 6: Review the automatically generated clinical note. All critical information — medical history, chief complaint, exam findings, diagnosis, and treatment plan — appears neatly organized.
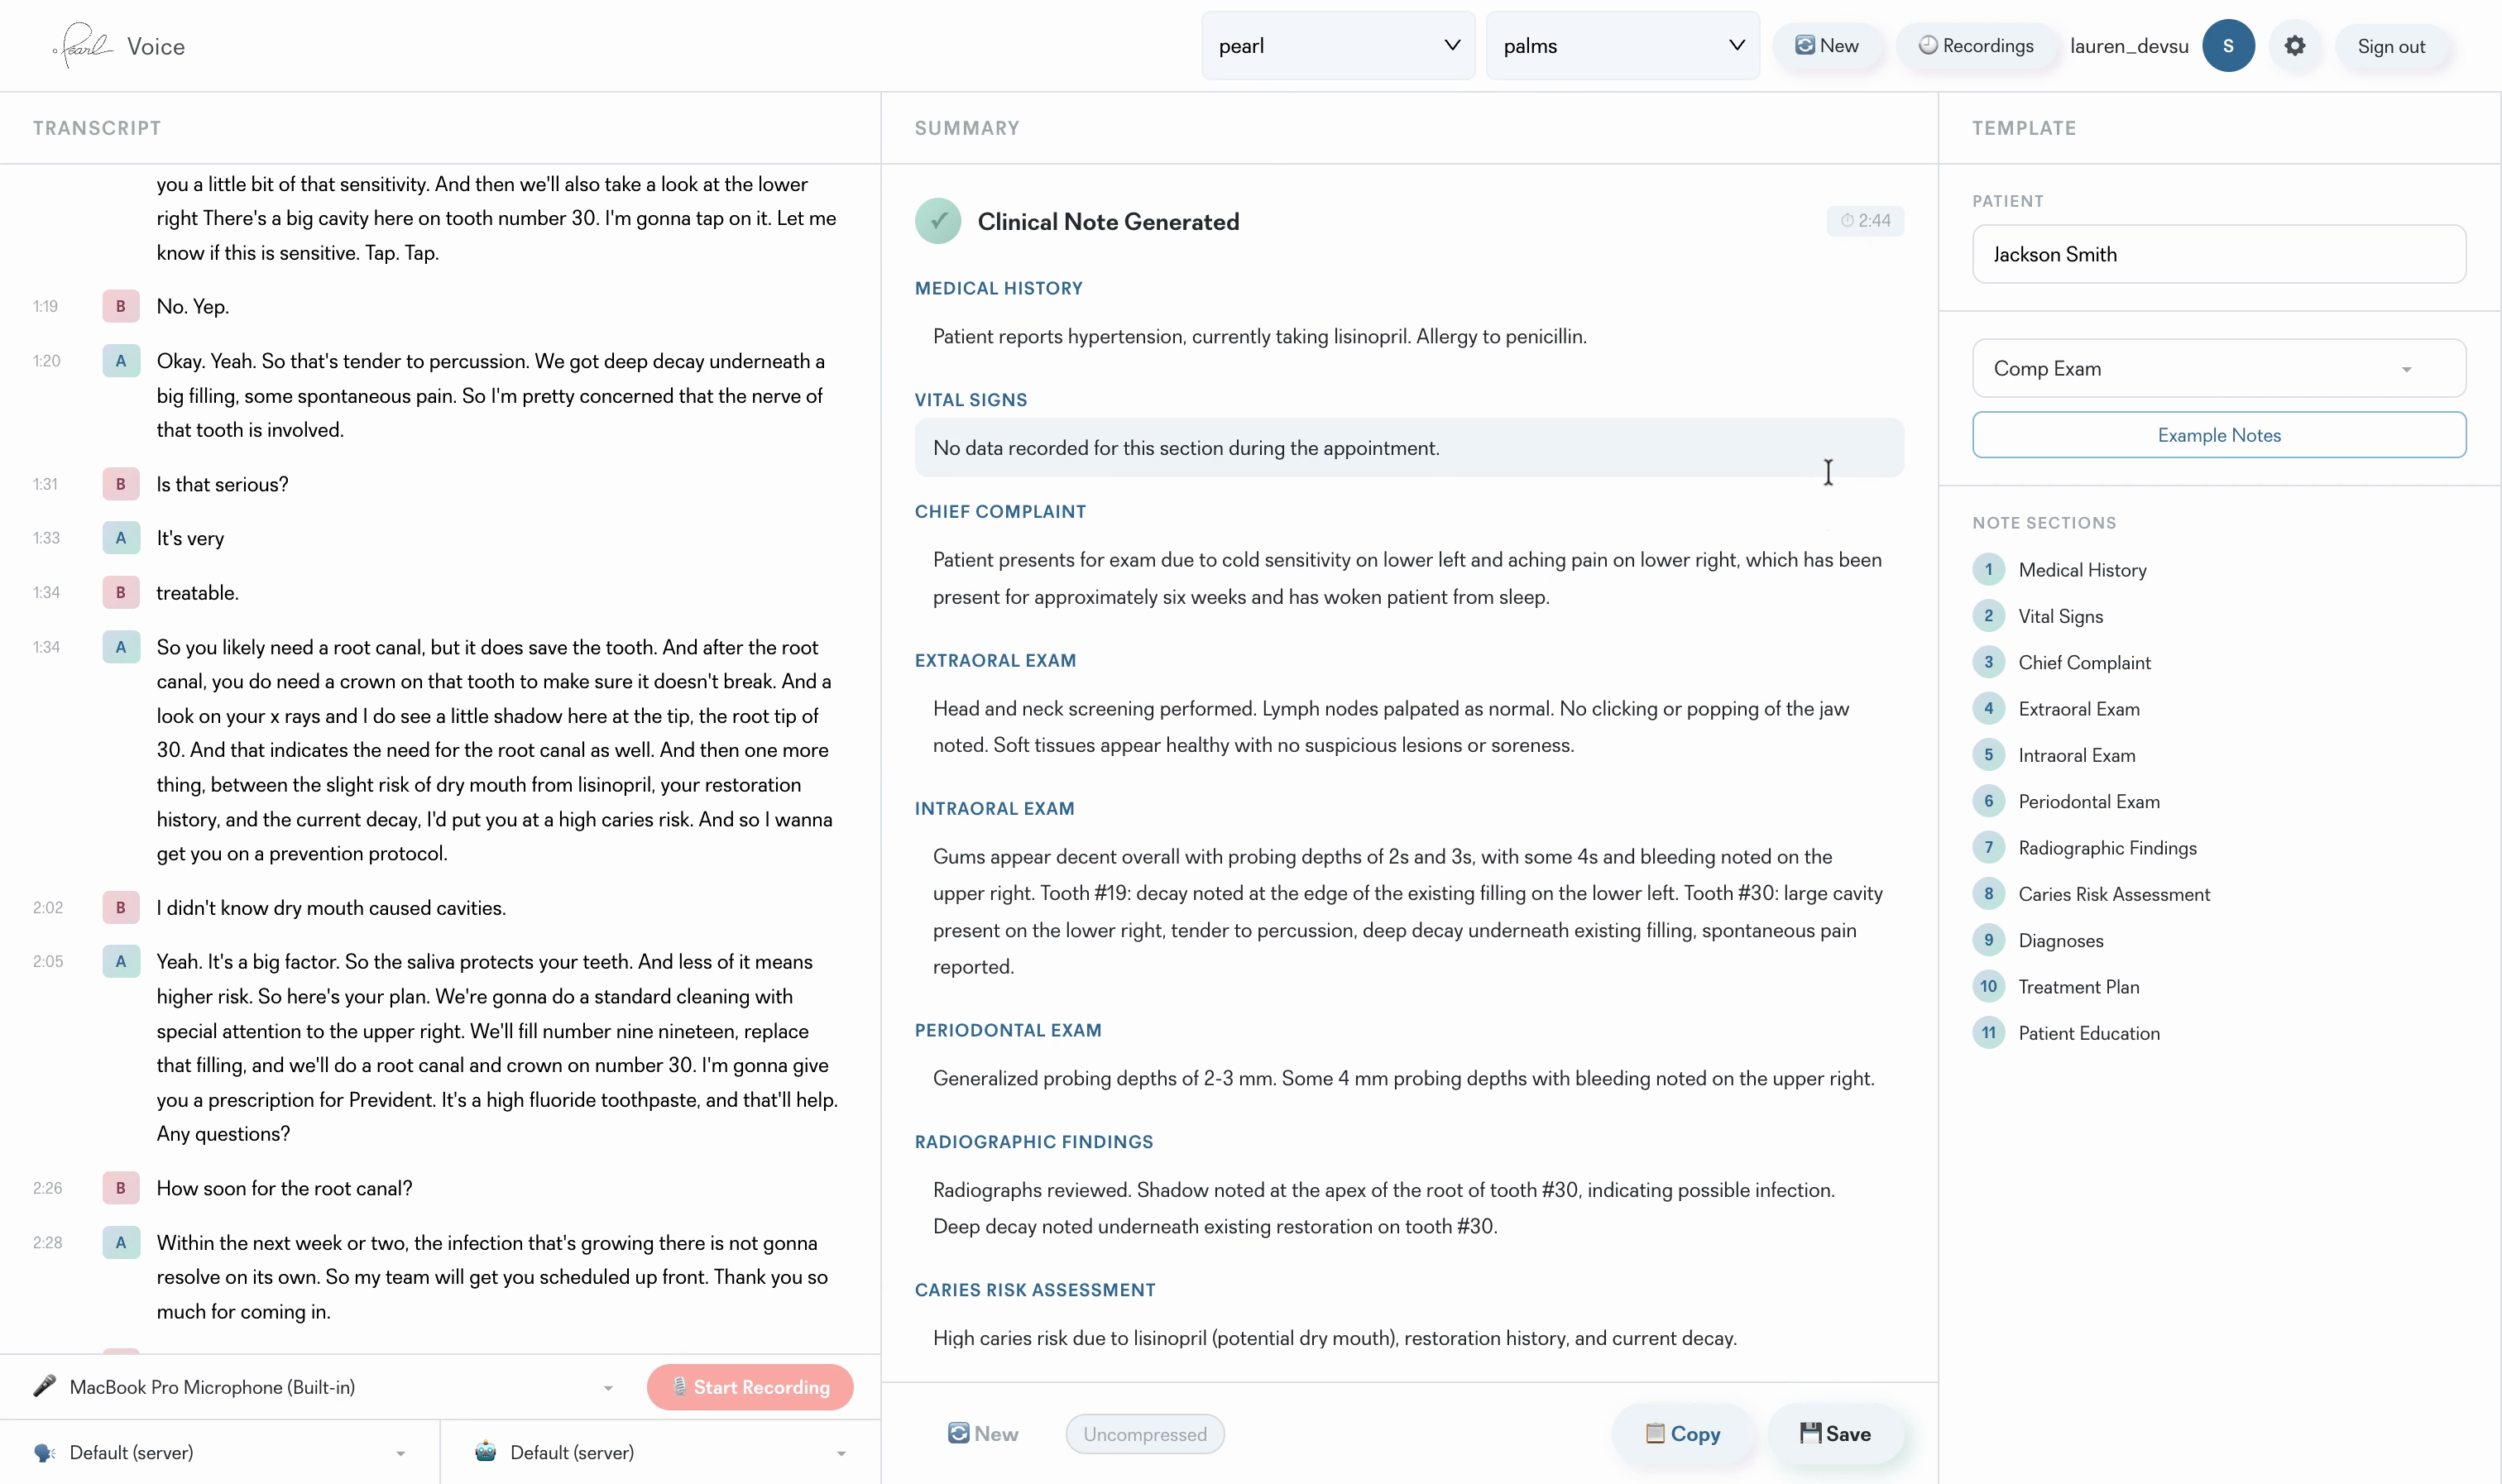
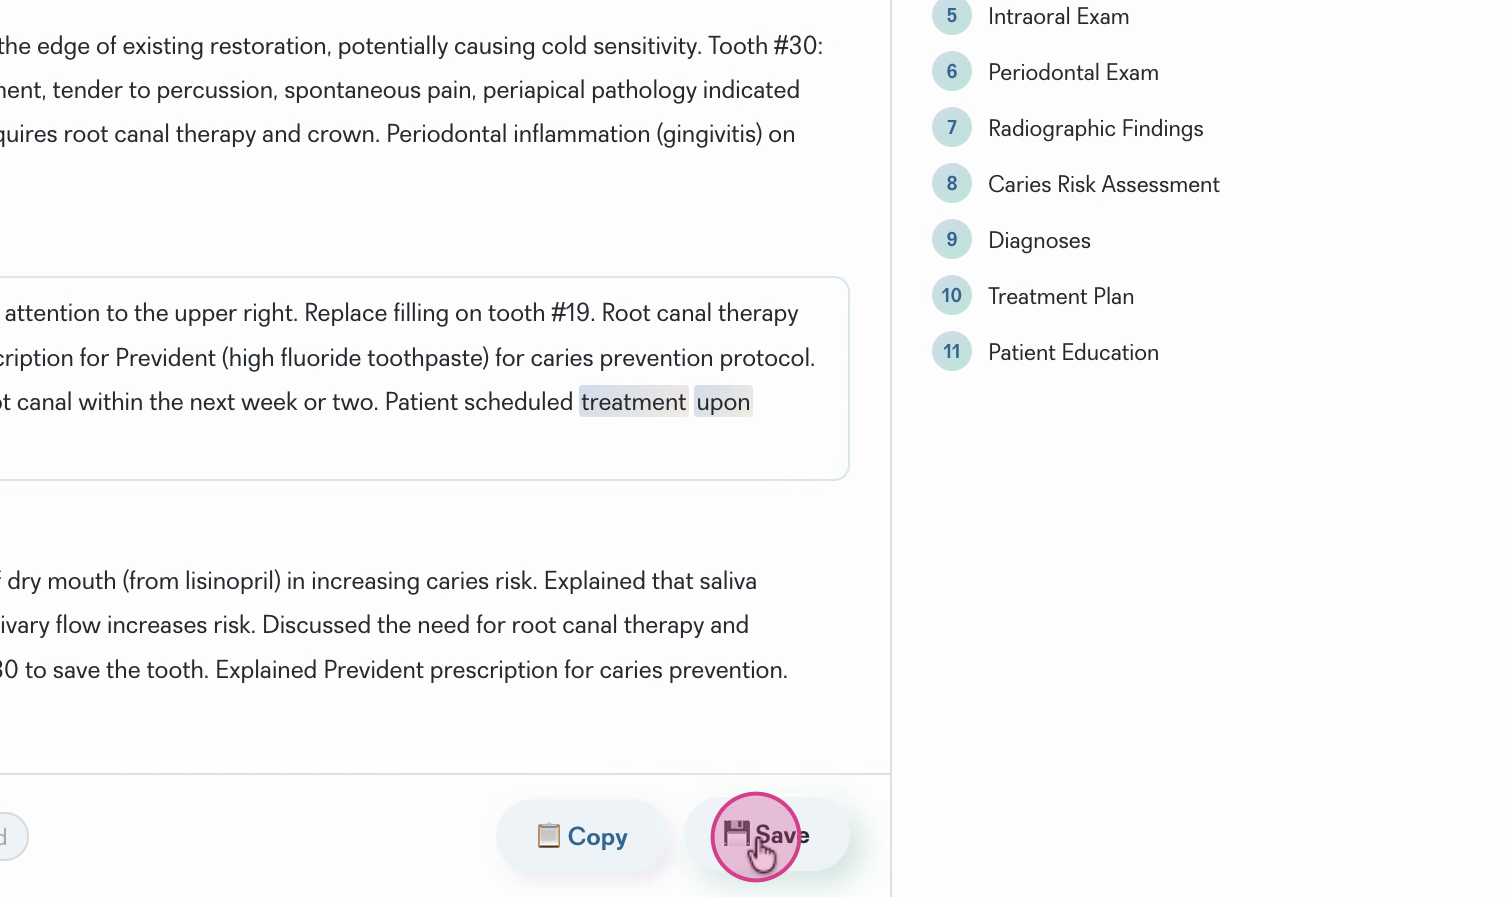
Step 7: Click into the note to add or edit any details as needed, customizing the documentation to fit the appointment.
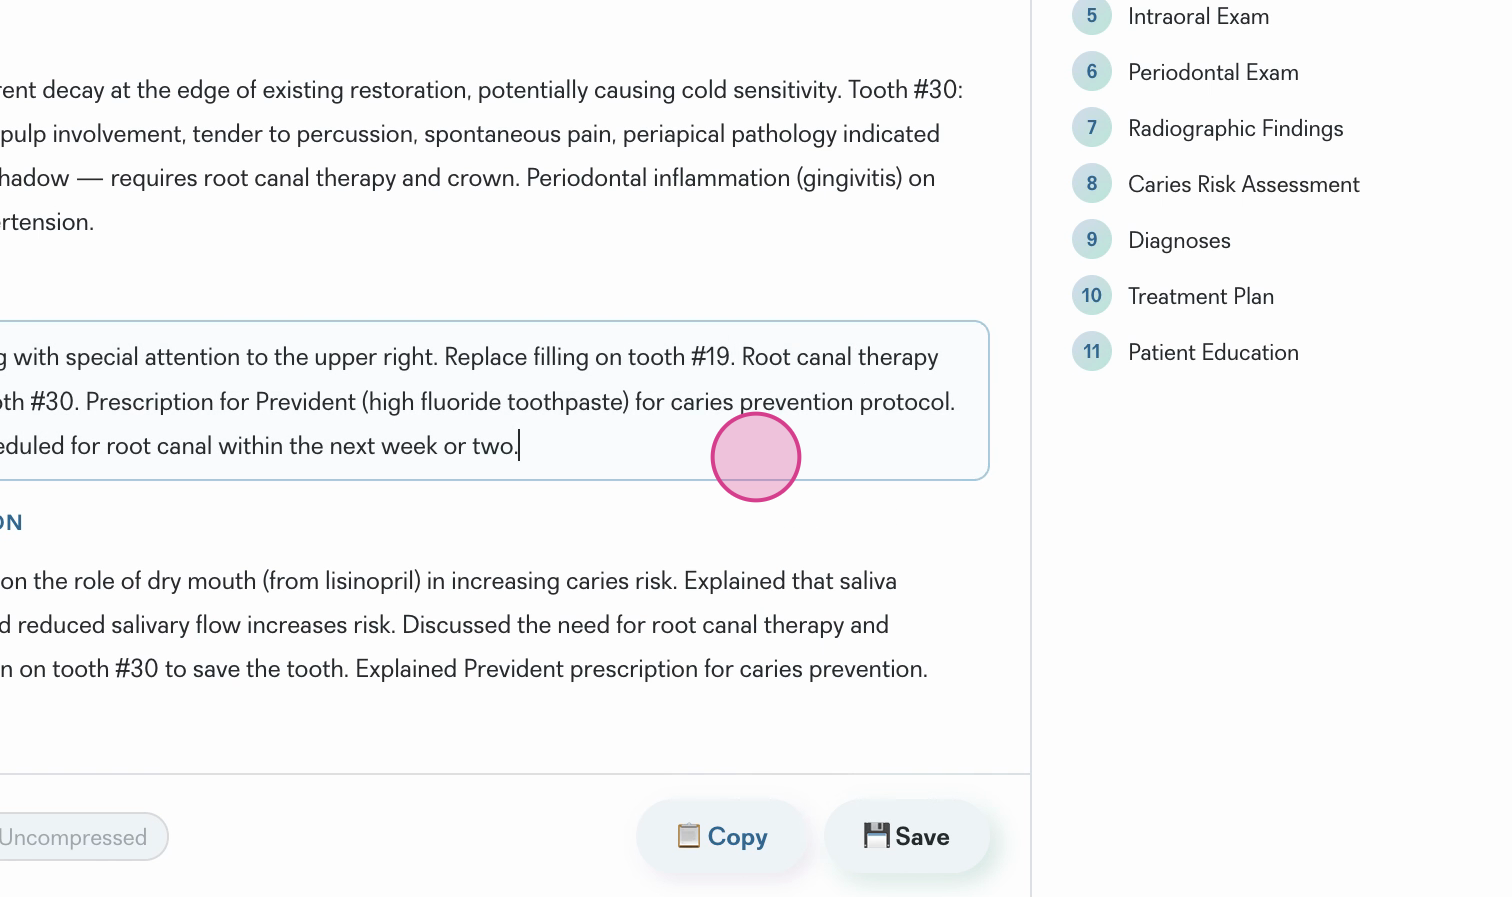
Step 8: Once satisfied, select Save to store your clinical note.
Step 9: To create a more succinct record, switch to the Compressed Clinical Note view for a concise summary, or toggle back to the detailed version.
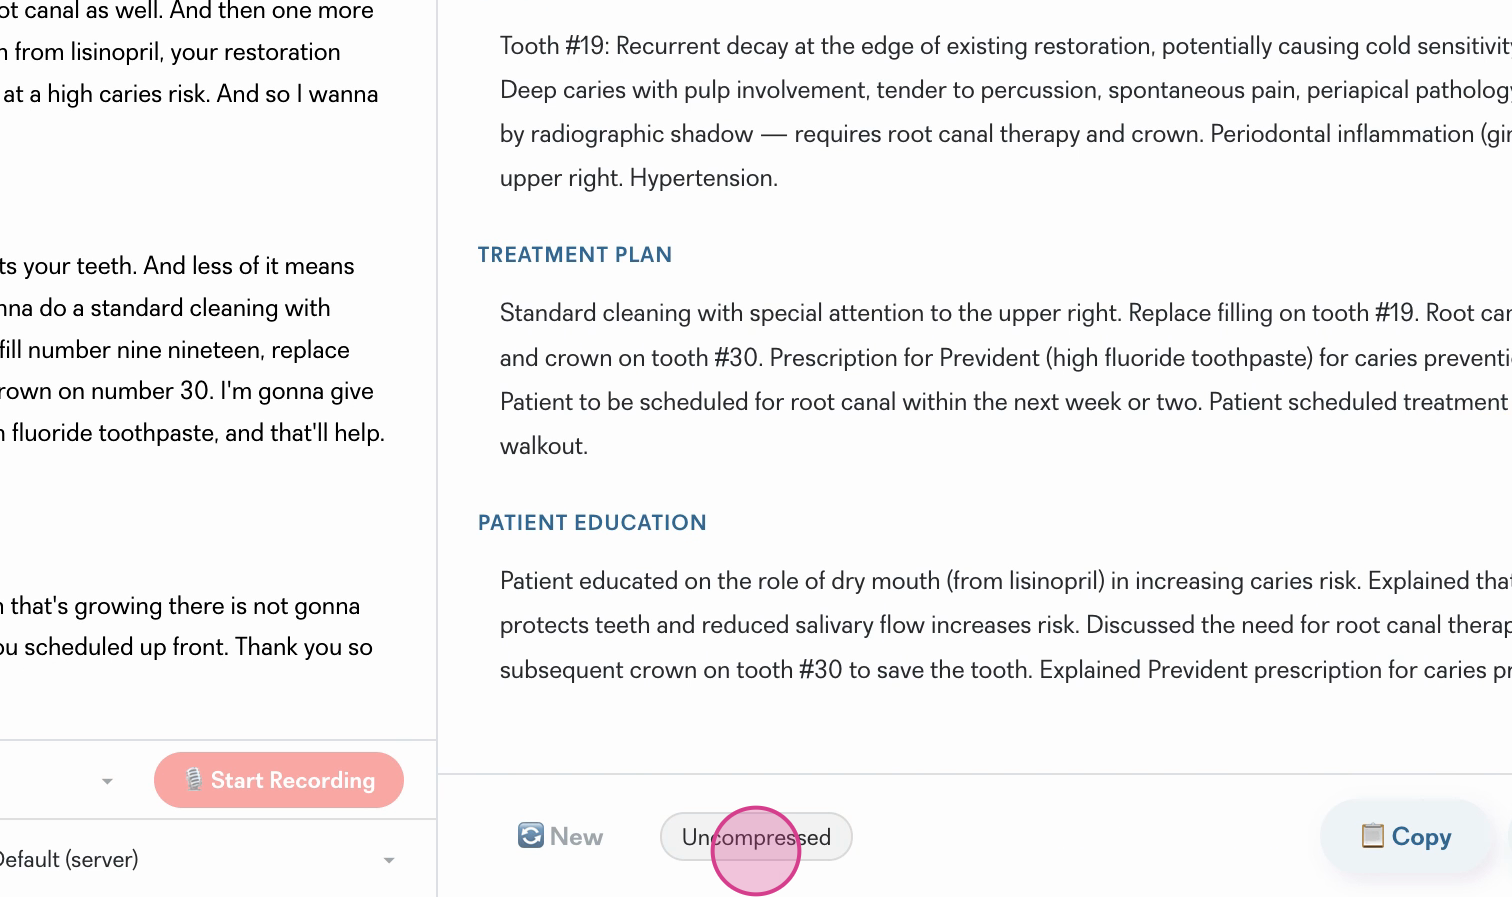
Step 10: Copy the finalized note as needed for your treatment plan or for further documentation.
See Managing Your Notes and Recordings for more details.
Pearl Voice takes care of thorough documentation, freeing you up to build trust with patients and focus on care. Use the editing and compression features to tailor notes for different scenarios — it’s documentation, your way.